
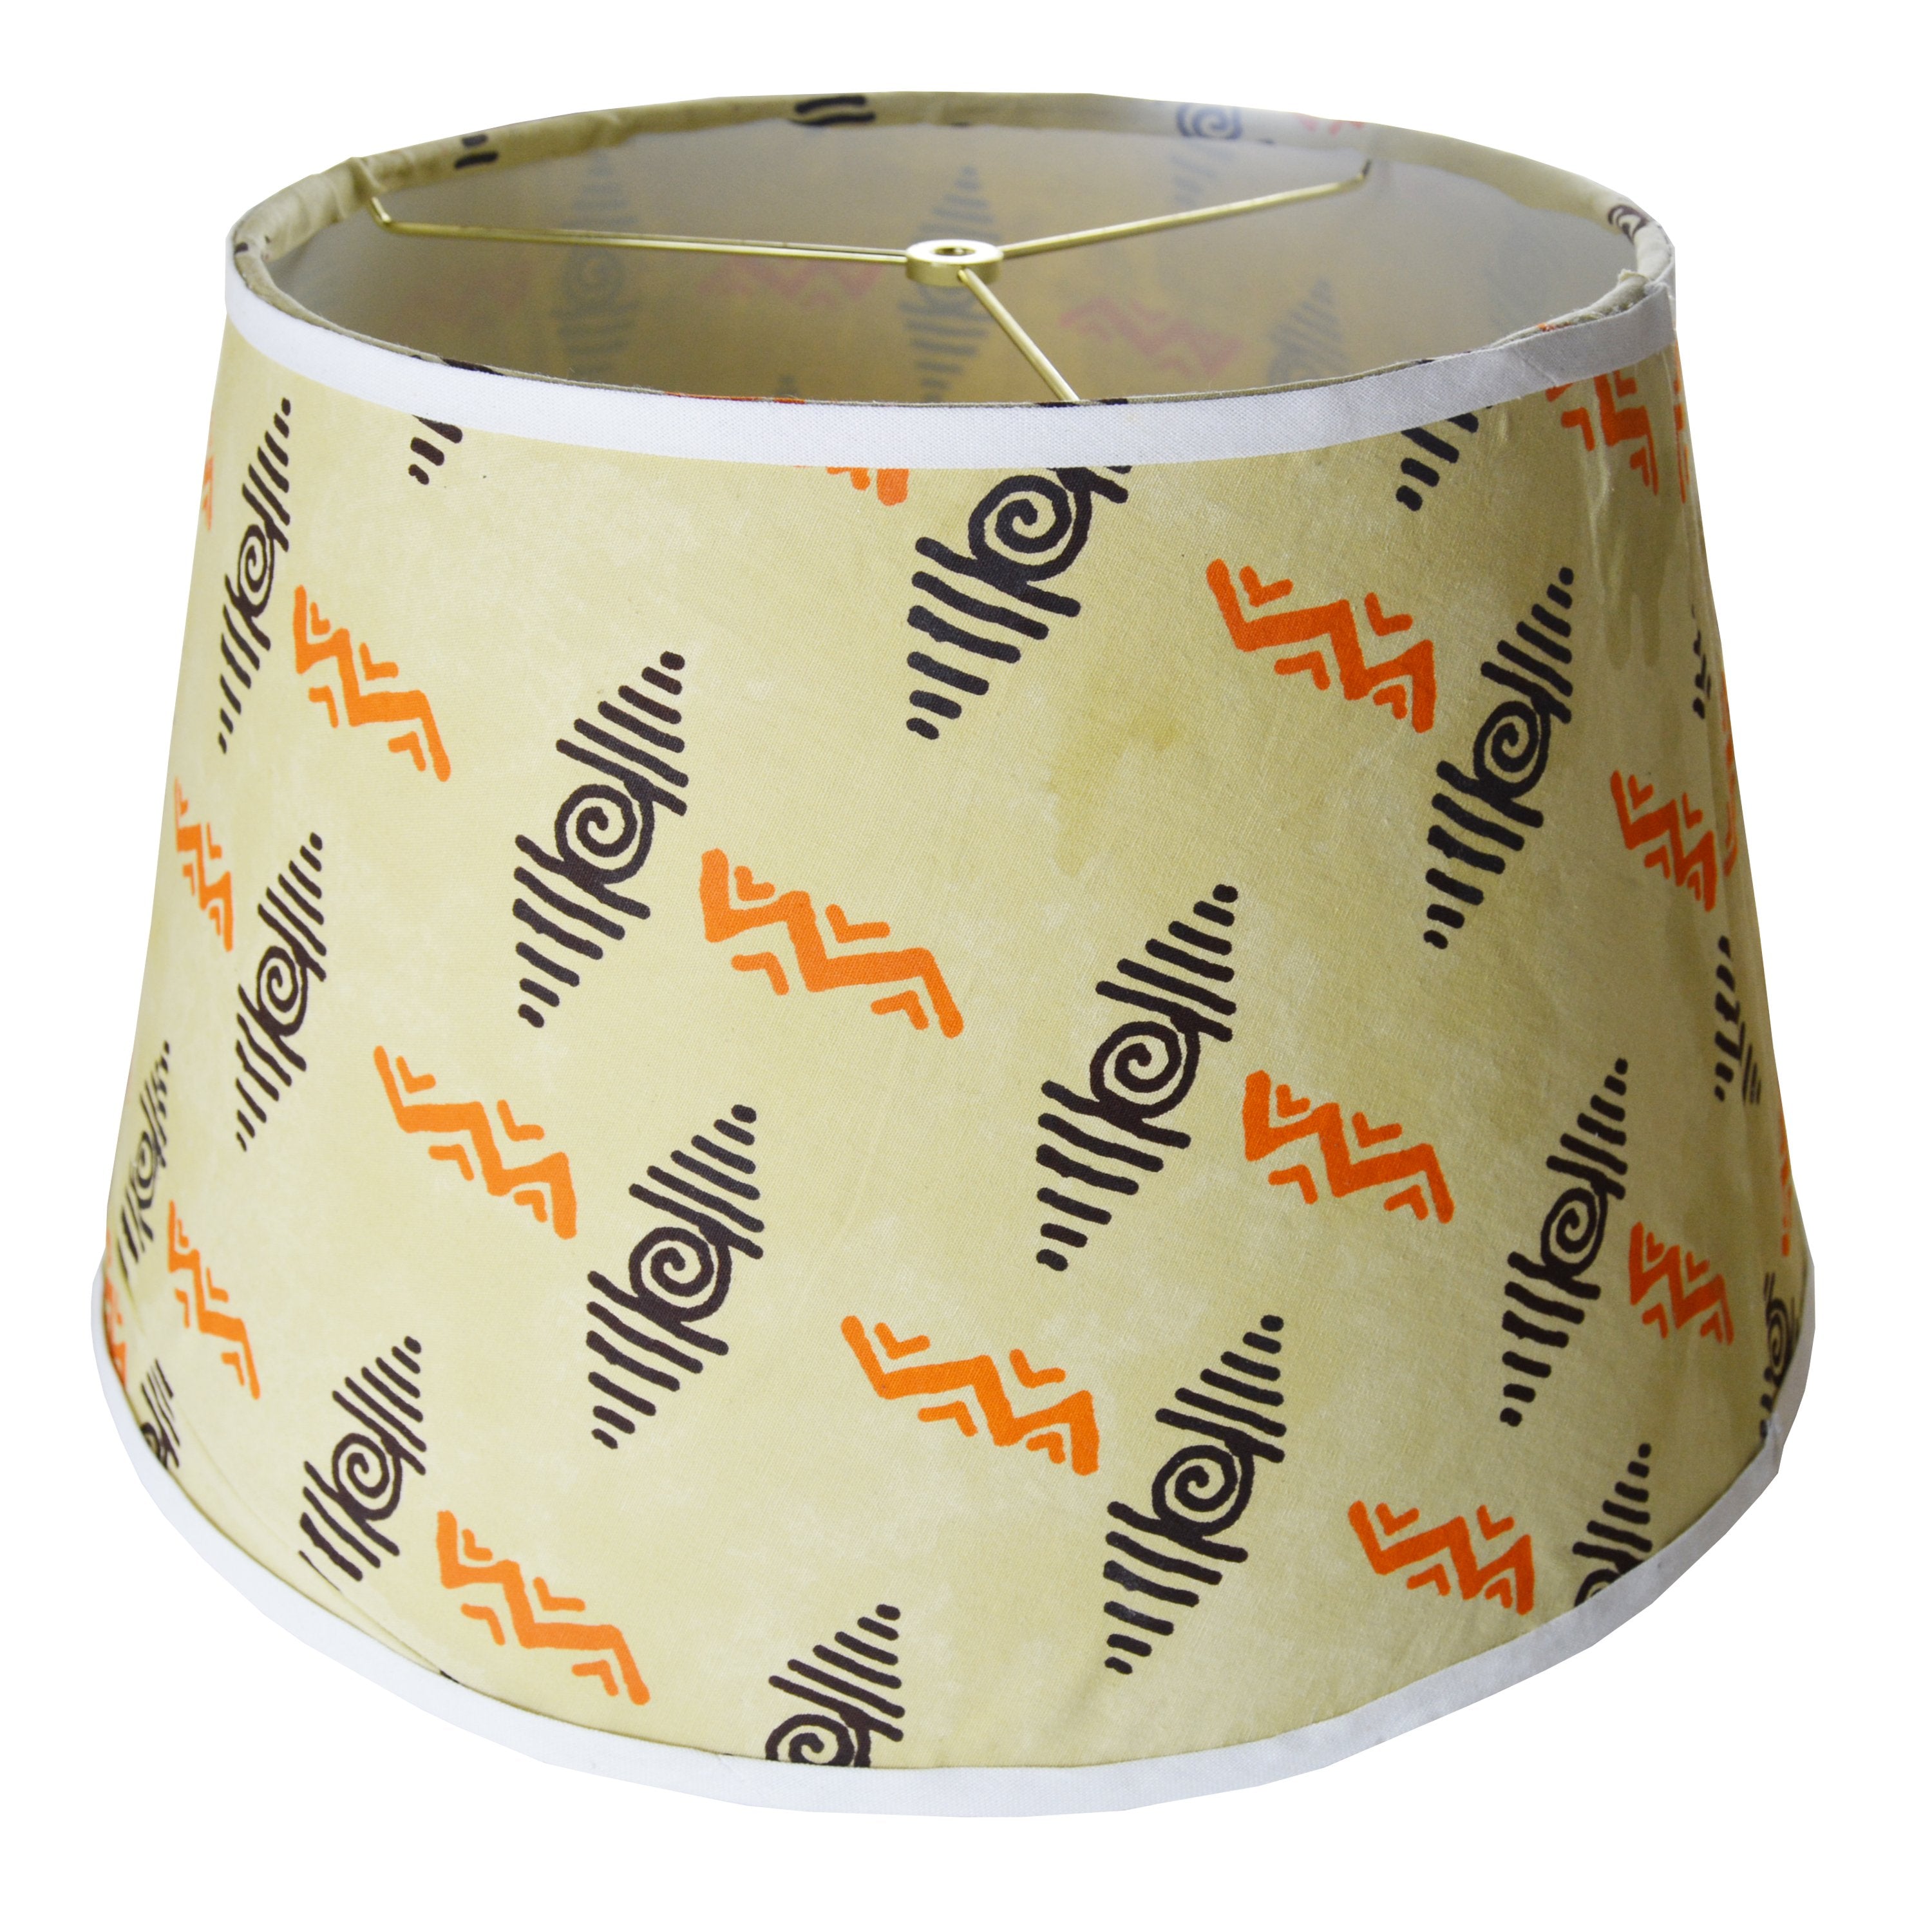
DIY: How to not miss the decoration of your lampshade: cover a lampshade with fabric
We do not always have a big budget for decoration or we live in an apartment with all the walls in white and the having to paint it feels like a huge task for us.
If you are in this kind of situation, one thing you can do is to add some colors to items in your decoration, such as a lampshade, the subject I will discuss today.
How did I get to decorate a lampshade? It was a project that was in my head, but I never tried it before. Then one day, my phone rang and a customer told me this: I know it's not what you usually do (and I tell myself: no, really?), But I would like you to cover our lampshade with a fabric that we have. So I told him that we had to meet to evaluate the project, because until then I had only done it in my head.
So I met the client, with whom everything went well, and he had much more confidence in me than myself on this project. I remember that he said to me: I know you can do it (meanwhile, in my head, I said at the same time : how could you be so sure?). But I finally accepted the project ...
I also remembered this quote from Theodore Roosevelt '' Whenever you are asked if you can do a job, tell ‘em, ‘Certainly, I can!’ then get busy and find out how to do it’’
So I had to really manage to make it happen, because imagining a project in one’s head and realizing it in reality, are two different things! On the other hand, doesn’t the saying want everything to start from visualization?
So I did my research and gathered the necessary material:
- lampshade, supplied by the customer
- Fabric, also supplied by the customer
- Spray adhesive glue: it is very important not to use a classic glue for fabric. The spray glue allows a more regular distribution of the adhesive on the work surface and avoids having bumps in places on the fabric. For my part, I used: Sluyter Feather-Spray 470
- Paper to make a pattern: you can use paper for pattern if you already have it or recycle newspaper that you will paste together with double-sided tape to have a sufficient surface to cut the pattern of your lampshade.
- Hot glue or fabric liquid glue for finishing
- Scissors
- Pencil

Where to find the material?
For the lampshade, I suggest you to use one you already have, or if you are not sure about the project and want to give it a try first, buy a lampshade at a discount in a furniture store or in a second-hand items store.
The rest of the material, namely: fabric, spray adhesive glue, paper (you can recycle what you already have), scissors, you will find them easily in a fabric and accessories store. If you are in Montreal and surroundings, you can buy them at Fabricville, Club tissus or any other place you know.
The different steps to follow:
1- Drawing of the pattern: roll the lampshade on the paper reserved for this purpose, and with the pencil, draw the contour gradually until it goes round. If your lampshade is big like that of my client, I suggest you make the pattern only for the half of the lampshade.
After drawing the pattern and before cutting it, add 1.5 cm or 2 cm to each edge of the pattern. This fabric supplement will allow you to finish the edge of the lampshade later. You now have your pattern. Congratulations, you have achieved a milestone in your project!
2- Cut the fabric: now place your pattern on the wrong side of the fabric that you want to use to decorate your lampshade. In case you had cut a pattern of  half the total surface of your lampshade, fold the fabric in two and place the pattern on the fold. Then cut out your fabric following the edges of your pattern.
 I suggest you do a test on a very small portion of the lampshade at the beginning of the surface to be decorated before covering everything. Test the waiting time for the glue which is usually 1 to 3 minutes. Spray your glue on the back of the fabric or on the lampshade in a uniform manner, without overloading. Then stick the fabric on the shade. If this does not go well in one place and it is a little crooked, immediately take off the fabric and reposition it.
Now, I'm sure you're wondering if the project for my client was a success. I humbly admit it wasn’t that great: I was not too proud of myself, I had trouble with the adhesive spray in some places. But, what was most funny in the situation is to see my client reassure me by saying: this is the first time you do it and it's normal that everything is not perfect. I have precious customers, thank you. 
In my opinion, the most crucial step not to be neglected is the drawing of the pattern, because the lampshades do not have straight shapes on which you can put your fabric directly as is before sticking. They often have oval shapes much like corolla skirts or skater skirts. So, you really have to draw a pattern first.
The next step that I also consider important is the choice of spray adhesive glue. I opted for: Sluyter Feather-Spray 470. I saw that there is also the Sluyter Feather-Spray 476, used in the same type of project by Club tissus. I wondered if it was because I had used the 470 rather than the 476 that I had this kind of difficulty in some places for the adhesion of the fabric on the lampshade. I can not answer yes or no to this question because I took my glue after being advised in a store. Surely, I did not spread the glue properly on the fabric.
My client completed his lampshade order with a large custom cushion cover  that my team and I have done very well. See below a picture that he sent me. He was very pleased with the result especially because he had already made a first attempt to make the same cover elsewhere and it did not worked out well.
Do not hesitate to let us know about your projects, for an evaluation. Also, share with me your project of decoration of your lampshade, it will be a pleasure for me to see it.
See you soon for another publication on the blog. And in the meantime, take care of yourself.
Ingrid, Mother, scientist, Founder of Coo-Mon

Leave a comment
This site is protected by hCaptcha and the hCaptcha Privacy Policy and Terms of Service apply.